For my first assignment, "The Frog-Prince", I have already made many experiments with a few sensor working all within one program. I am confident with the usage of different sensors and its programming. Now it is time for me to look at some motors. The motors ought to help emphasizing the cow's reaction.
There are several motors that are suitable for the Arduino.
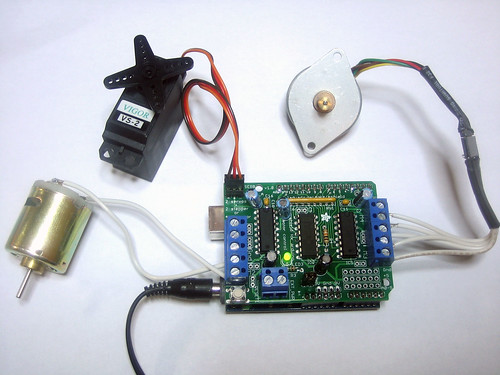
On this picture you can find (from left to right) a DC motor, a 5V hobby servo and a Stepper motor.
DC motors:
There are a couple of things that are important to consider when using these motors. First of all, you need to find out what voltage the motor has. Usually motors range from 6V to 12V, but you can also get little hobby motors running at 1.5V. Cheap motors generally do not have a great sufficiency.
Secondly, the current needs to be carefully looked at. Once you go towards 1A, there is the possibility that you burn out the chip. That can be avoided by adding a heatsink.
Servos:
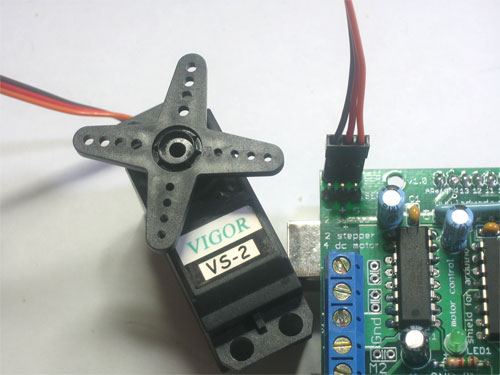
These motors are the easiest motors to use. Servos have a 3-pin 0.1" female header connection with =5V, ground and signal inputs. The output lines to 2 3-pin headers of 16bit PWM. Therefore, it can easily be plugged in. Because they use a lot of power, a 9V battery will not last very long.
DC motors:
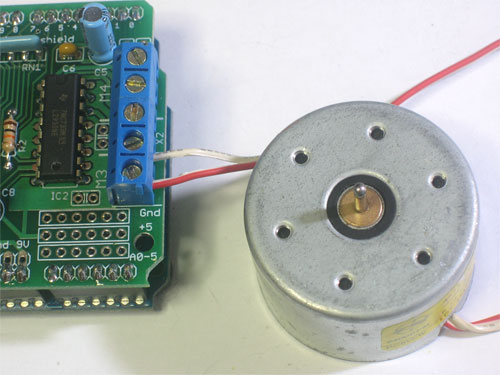
DC motors are very versatile. Up to 4DC motors can be attached going forwards and backwards. Their speed can be varied and will be very constant.
Stepper motors:
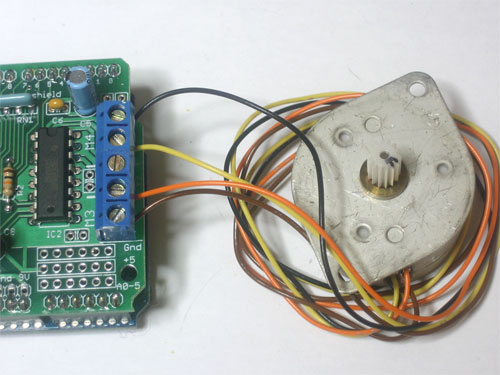
Stepper motors may not be as precise as DC motors, but can still be used for many robotic functions. Usually they have five wires that all need to be properly connected. That is why stepper motors seem to be a little more complicated.
All in all, the servo motor seem to be the easiest motor for me to use. I do not have to pay so much attention of damaging the Arduino and their installation seems to be quite easy.
Examples of coding for all these motors can be found at the following link.
No comments:
Post a Comment